Ceiling fan and exposed beams: where and how to mount it
Published on ·9 min read
You have a ceiling with exposed beams, a living room that overheats in summer, and one simple question: where does the fan go? Under a beam, the unit hangs lower and you may run out of height. Between two beams, the ceiling is higher, but the blades may end up turning right next to the timber. And in both cases you need to know what you are screwing into.
The answer comes down to three checks: the height available under the beams, the nature of the beam or ceiling that will take the fixing, and the route of the cable. This article takes them in order, then says which position to choose for your ceiling and which kind of model suits it.
Under a beam or between two beams: the two possible positions
A beamed ceiling offers two places to fix a fan. The first is the underside of a beam or joist: the bracket is screwed straight into the wood. The second is the ceiling itself, in the gap between two beams, which is often where the old light point sits.
Fixing under a beam is the simplest and the strongest option: no wall plugs, a rigid support, timber that absorbs vibration. Its drawback is that the unit hangs lower by the full depth of the beam. Fixing between two beams keeps the unit higher, but raises a question the first option does not: do the blades have room to turn without skimming the neighbouring beams?
In most houses, height therefore settles the matter. Before looking at screws and cables, get the tape measure out.
The deciding measurement: height under the beams
The safety rule is the same as under a flat ceiling: at least 2.10 m between the floor and the bottom of the blades. Under beams, it is measured from the real fixing point. If you fix under a beam, start from the underside of the beam, subtract the total height of the assembled unit, and check that 2.10 m remains.
If you fix between two beams, a second condition applies: the blades must turn lower than the underside of the beams. Blades turning at beam level, in the channel the beams form, move air poorly: the flow hits the timber instead of spreading through the room. You would then need, as with a wall, about 50 cm between the blade tips and each beam, which an ordinary gap between beams does not allow with a 132 cm diameter.
In practice, between two beams, you therefore need a drop long enough to bring the blades below the beams. In both cases the blades end up at roughly the same height, just under the timber. That is the height to compare with the 2.10 m rule.
- ·Fixing under a beam: height under the beam, minus the total height of the unit, equals 2.10 m or more
- ·Fixing between beams: blades below the underside of the beams, and still 2.10 m above the floor
- ·Distance to walls: about 50 cm between the blade tips and the nearest wall
- ·Less than 2.10 m under the blades in every case: the fan belongs in another room
Fixing under a beam: straight into the timber
A sound load-bearing beam or joist is the best support there is: a fan of a few kilos does not trouble it. Large 132 cm models with wooden blades generally weigh 8 to 10 kg, a compact model 4 to 6 kg. The bracket is screwed into the solid wood with long wood screws or coach screws, without plugs.
Three precautions. Aim for the middle of the beam's width, so the screws do not come out near an edge where the wood can split. Drill a pilot hole narrower than the screw, especially in old oak, which is very hard. And check that the underside is wide and flat enough to take the whole bracket: on a hand-hewn beam, a thin shim may be needed so that it sits flat.
Look at the condition of the wood at the chosen spot too. Sound timber rings solid and resists the tip of a screwdriver. Wood that crumbles, sounds hollow or sheds fresh sawdust calls for a professional opinion before anything is hung from it.
- ·Long wood screws or coach screws, never plugs in solid timber
- ·Pilot hole in the middle of the beam's width
- ·Bracket sitting flat, thin shim if the underside is uneven
- ·Sound timber only: solid, hard, no sawdust and no crumbly areas
The Fjord 132
Solid wood · Ø 132 cm · Three Scandinavian blades
- ✓Oiled solid-wood blades, every unit is unique
- ✓Three-blade Scandinavian design: sculptural, never heavy
- ✓Ultra-silent DC motor, slow large-volume airflow
€419€429
Watch out for false beams
Not every exposed beam carries the floor above. Many recent or renovated ceilings have decorative beams: hollow boxes made of boards, polyurethane beams imitating wood, half-beams glued in place. They dress the ceiling, they carry nothing, and certainly not a rotating appliance.
The test is quick. Knock on the beam: a box sounds hollow, foam sounds dull and light, solid wood sounds full. Look at the ends: a real beam runs into the wall, a false one stops against it. If in doubt, a small test hole in a discreet spot settles the question.
If the beam is false, there are two solutions. Either you fix elsewhere, into the structural ceiling between the beams. Or the fixing passes through the false beam and anchors into the structure above it, with a rigid spacer taking the load, the false beam serving only as cladding. The second solution is a job for a professional.
Fixing between two beams: the ceiling or a cross-piece
Between the beams, everything depends on what the ceiling is. If it is the underside of a timber floor, boards laid on the joists, a board alone is not a sufficient anchor: it is better to pick up the joists. If it is lath and plaster or plasterboard, the rule is the one for any ceiling of that type: never fix into plaster alone, go and find the structural element behind it.
The cleanest solution is a cross-piece: a length of timber placed between two neighbouring beams and screwed into their sides. It creates a solid anchor point exactly where you want the fan, for instance in the centre of the room when no beam runs there. Stained to match the timbers, it blends into the ceiling once the unit is in place.
The cross-piece has to be fixed properly: a solid timber section, several screws at each end, driven into load-bearing beams. If you are not equipped for this piece of joinery, a carpenter or joiner will do it in little time.
Running the cable without damaging the beams
The simple case is when a light point already exists at the chosen spot: the supply is there, and the fan connects to it like a light fitting. Always switch the power off at the breaker before touching it, and check with a tester that the circuit is dead.
If you move the point, for example from the ceiling to the underside of a beam, the cable has to be brought there. It runs along the top or the side of the beam, on the least visible face, under a moulding or a slim stained trunking. Do not cut a deep groove into a load-bearing beam to bury a cable: a groove weakens the timber where it does its work.
A remote-controlled fan simplifies this chapter: it only needs its supply, with no extra control wire to a wall switch. If the supply has to be extended or created, hand it to an electrician: that is work on the fixed installation, not a simple swap of light fittings.
Which model under exposed beams
Under a timber ceiling, two criteria matter: diameter, because beamed rooms are often large living rooms, and material, because a plastic-looking unit clashes with a timber frame. For a room of 25 to 30 m², the benchmark is a 132 cm diameter.
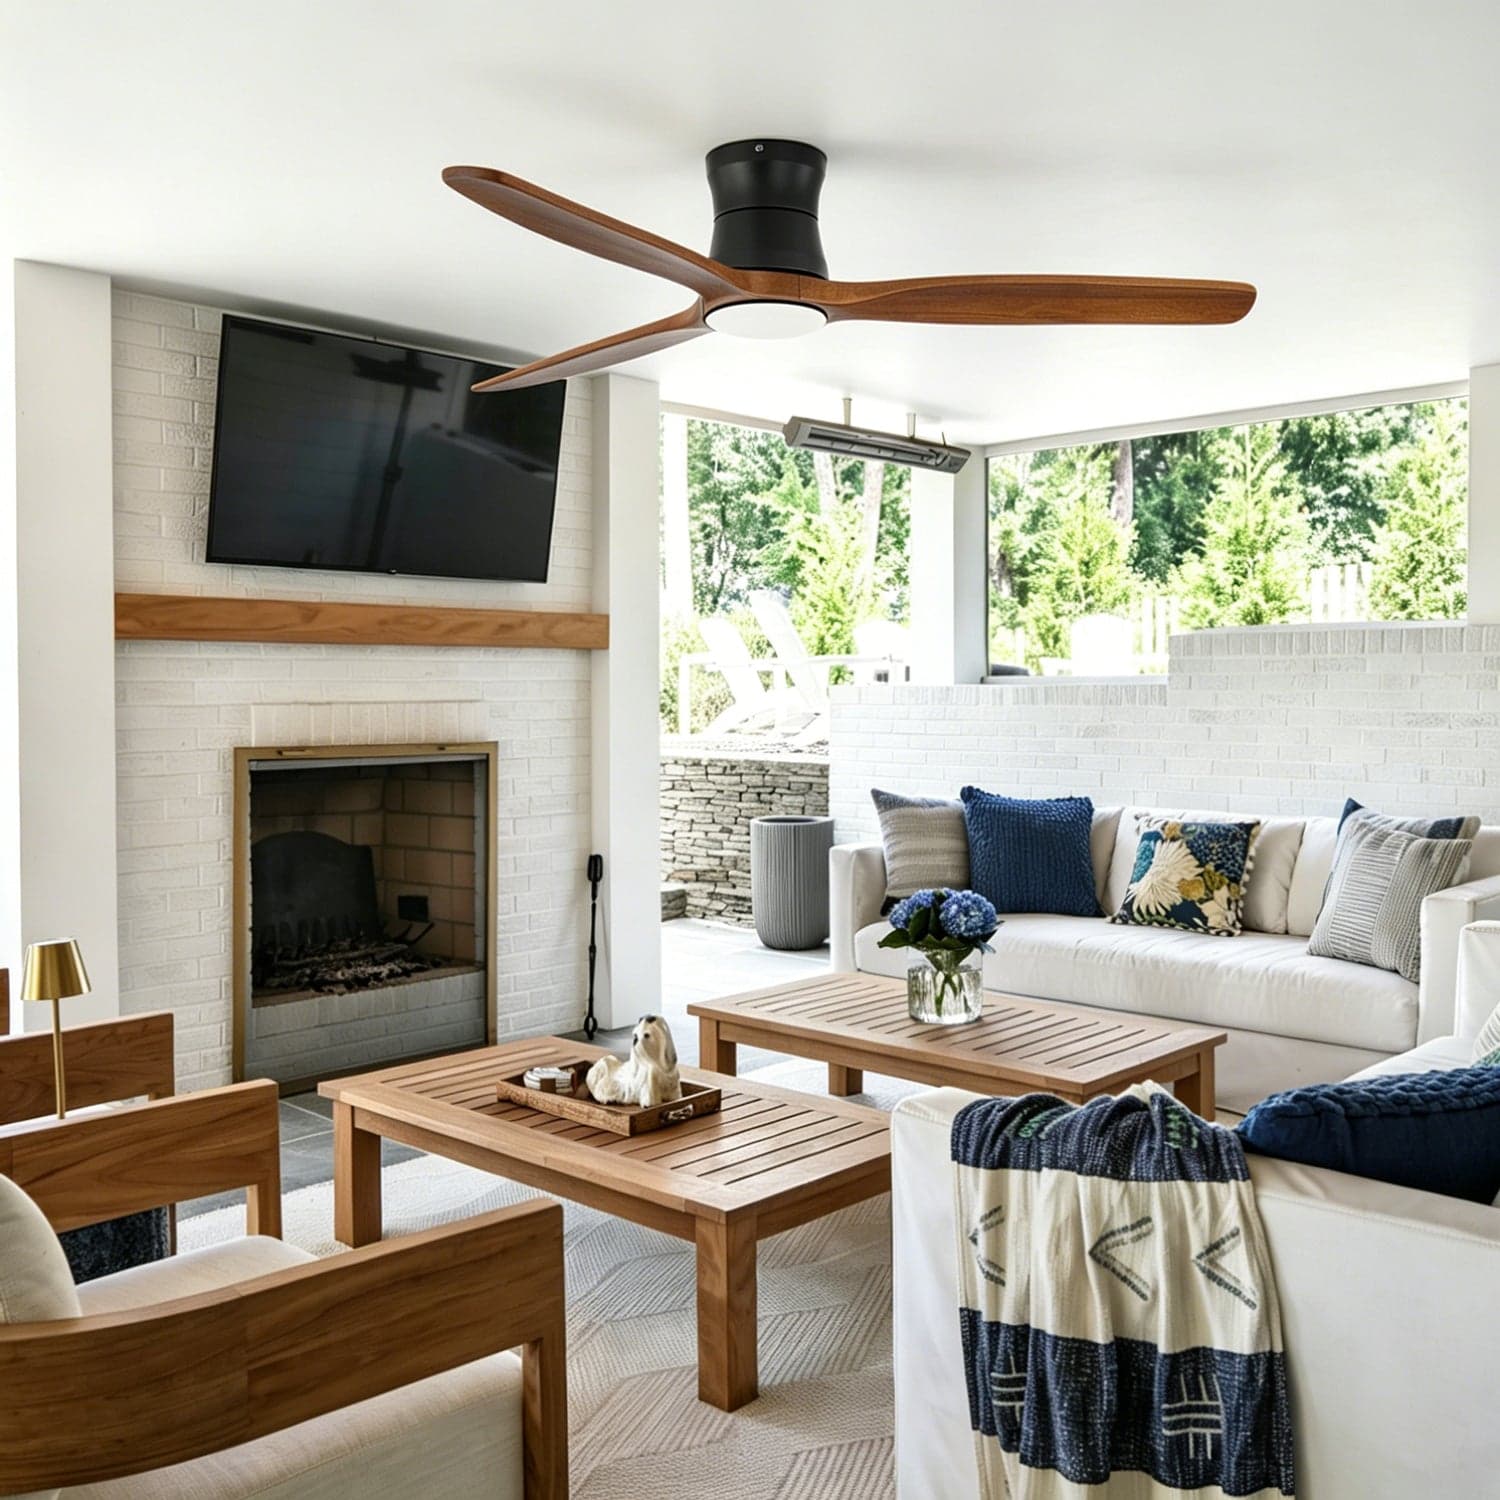
The Fjord 132 meets both. Its three blades are oiled solid wood, curved like a piece of joinery, with invisible fittings: under beams it reads as part of the timber frame more than as an appliance. Its reversible DC motor is rated at 32 dB maximum, with six speeds controlled by remote, and it is CE certified.
Reverse mode has a particular use under a beamed ceiling, which is often high: in winter it brings back down the warm air that gathers under the ceiling. One point to check before ordering: the Fjord's product sheet does not mention integrated lighting. If the light point you are reusing is the only light in the room, plan another source.
Under exposed beams, the right fixing is almost always the most direct one: under a sound load-bearing beam, screwed into the timber, provided you keep 2.10 m between floor and blades. If height is short under the beam, it will be short between the beams too, since the blades have to turn below the timber anyway. If no beam runs in the right place, a cross-piece between two beams creates the anchor point. Be wary of false beams, switch the power off at the breaker before any work, and call an electrician as soon as the supply has to be moved. For a living room of 25 to 30 m², the Fjord 132, with its three oiled solid-wood blades, its reversible DC motor and its 2-year warranty, is the model that sits naturally with an exposed timber frame.
Frequently asked questions
Can you fix a ceiling fan directly to a wooden beam?+
Yes, it is the best support of all when the beam is load-bearing and sound. The bracket is screwed into the solid wood with long wood screws or coach screws, after pilot drilling, without plugs. You only need to check that 2.10 m remains between floor and blades.
How much height do you need under the beams for a ceiling fan?+
You need at least 2.10 m between the floor and the bottom of the blades, with the unit assembled. Under a beam, start from the underside of the beam and subtract the total height of the unit. Between two beams, the blades must also turn below the underside of the beams.
Can you fix a fan to a decorative false beam?+
No. A hollow or polyurethane beam cannot carry a rotating appliance. You have to fix into the structural ceiling, or pass through the false beam and anchor into the structure above, which is a job for a professional.
How do you power a fan fixed under a beam?+
The simplest way is to reuse the existing light point. If the point has to be moved, the cable runs along the beam under a moulding or stained trunking, without cutting into the load-bearing timber. That change to the installation is work for an electrician.
The SEY Maison Circle
Every month, an exceptional piece. Never reissued.
The Drops principle: one high-end furniture piece per month, in a numbered edition. Once it's gone, it never comes back. Circle members are notified 48 h early, access each drop 24 h before everyone else, and receive our guides before publication.
Discover the Drops →