Ceiling fan on a wood-panelled ceiling: fixing without damage
Published on ·8 min read
A wood-panelled ceiling invites you to screw straight into it: it is wood, the screws bite, everything feels solid. That is the trap. The boards are thin, pinned or clipped to battens, and behind them there is often a void. A ceiling fan hung from the boards alone ends up splitting them or pulling them off.
The right method is to go through the panelling and fix into what really carries the load, without marking the boards on the way. This article explains how to read a panelled ceiling, find the anchor point, screw without crushing the wood, route the cable, and which model suits this kind of ceiling.
Panelling is cladding, not a support
Ceiling panelling is made of tongue-and-groove boards, slotted into one another and fixed to battens. The battens are themselves fixed to the structure: the joists of a floor, the rafters of a roof, a concrete slab. The whole thing is designed to carry its own weight and that of a light fitting, no more.
A fan changes the picture. A compact model weighs 4 to 6 kg, a large model 8 to 10 kg, and it vibrates slightly as it turns, thousands of times an hour. A thin board held by a few pins does not resist that for long: it works loose, creaks, then splits around the screws.
The battens are no better an answer. Their section is small and their own fixing is not designed for a hanging load. The rule is the same as for plasterboard: do not fix into the facing, go and find the structural element behind it.
Reading the ceiling: boards, battens, structure
Before drilling, you need to understand how the ceiling is built. First clue: the direction of the boards. Battens generally run at right angles to the boards. Second clue: the fixings. Looking across the panelling in raking light, you can often make out lines of pins or faint regular marks, which show where each batten is.
What remains is to find out what carries the battens. Under an upper floor, it is joists. Under a roof, in a converted attic, it is the rafters, with insulation between them. Under a concrete slab, the battens are plugged into the concrete. The existing light point is the best window: with the power off at the breaker, take the fitting down and look through the opening, torch in hand.
While you are there, measure the depth between the face of the panelling and the structure. That figure is used twice: to choose the length of the screws, and to prepare the spacer that will keep the boards from being crushed.
- ·Direction of the boards: the battens run at right angles to them
- ·Lines of pins or staples: position of the battens
- ·Structure behind: joists, rafters or concrete slab
- ·Depth between the face of the panelling and the structure, measured through the light opening
Finding the anchor point
The most favourable case is when the light point falls under a joist or rafter, or under a concrete slab. The fixing then passes through the panelling and anchors directly: long wood screws or coach screws in timber, suitable anchors in concrete.
If the light point falls between two joists, there are two solutions. The first is a timber cross-piece fitted between the two joists, behind the panelling, when you can reach it from an attic or by removing a few boards at the edge of the room. The second is a visible mounting board: a piece of wood, of the same species or stained like the panelling, screwed through the boards into two neighbouring joists. The fan is fixed to this board, which reads as a piece of joinery.
To locate the joists without taking anything apart, a stud finder can work through thin panelling. Failing that, a very fine test hole, drilled where the fan's canopy will cover it, shows whether the bit meets solid wood or a void.
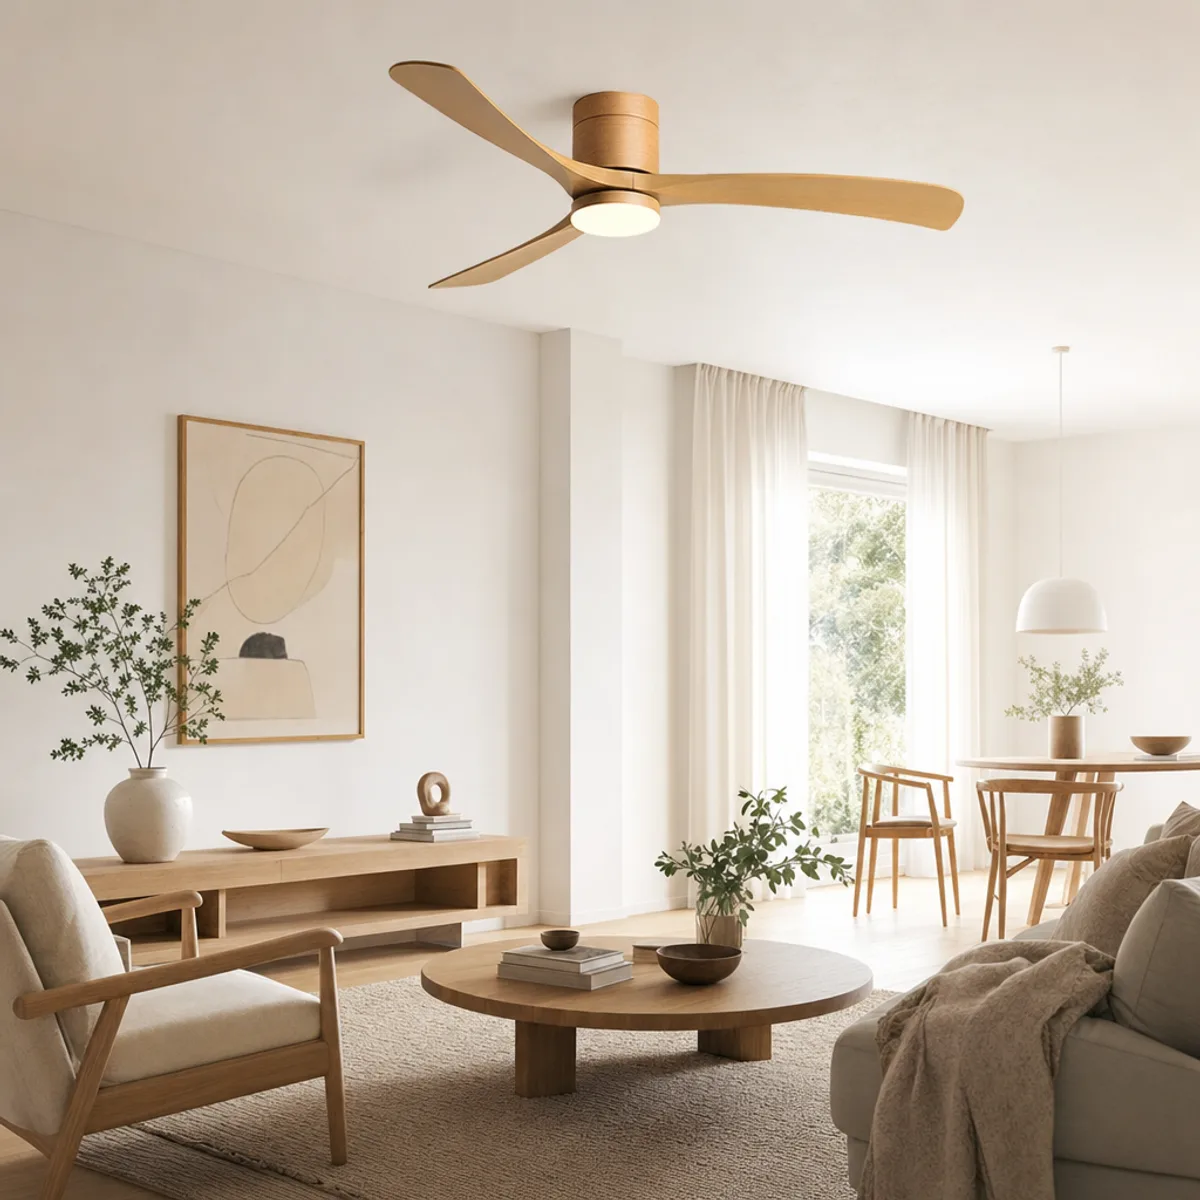
The Épicéa 142
Wood-effect body & blades · Scandinavian · Integrated LED
- ✓Silent DC motor, 6 reversible speeds
- ✓Integrated dimmable LED + remote control
- ✓30-minute installation, illustrated manual
€299€419
Screwing without crushing or splitting the boards
The risk, when tightening a bracket against panelling that sits over a void, is to bow the boards upwards: they dish, the tongues come out of the grooves, and the bracket no longer sits flat. The answer is a rigid spacer, exactly as thick as the void, slipped between the back of the panelling and the structure where the screws go. The tightening force then passes through the spacer, not through the boards.
Second precaution: pre-drill. A screw driven straight into a thin board, especially near an edge or a tongue, splits it. Drill the board first at a diameter slightly larger than the screw, so the screw passes through freely and bites only into the structure. Place the screws in the middle of the boards and not on the joints.
Finally, choose screws long enough to pass through the panelling and the void and anchor well into the load-bearing timber. Once the bracket is tight, pull down on it firmly: nothing should move, neither the bracket nor the boards around it.
- ·Rigid spacer as thick as the void, at each screw
- ·Board pre-drilled, screw in the middle of the board and not on a joint
- ·Long screws, anchored in the joist, rafter or slab
- ·Hand test before hanging the unit
Wood moves: what that changes
Solid-wood panelling moves with the seasons: it swells a little when the air is humid and shrinks when heating dries the room. That is normal, and the boards are fitted so they can move. A fan fixing must not block that movement: one more reason for the screws to pass freely through the boards and tighten on the spacer.
For the same reason, do not glue the fan's canopy to the panelling or fill the gap around it with sealant. If a slight creak appears at certain speeds, it most often comes from a board rubbing on its neighbour or from a bracket touching the wood without being tight against it: retightening is usually enough.
Plan that retightening anyway. After a week of use, switch the power off and check every bracket screw. Repeat the check after the first winter of heating.
The cable and electrical safety
Behind panelling there is wood, sometimes insulation, and little room. The supply cable must run in conduit, and the connections must be made in a junction box or inside the fan's canopy, never with terminal blocks left loose in the void. If you find old wiring, cloth-covered or without an earth wire, have the circuit checked by an electrician before connecting anything.
Before any work, switch the power off at the breaker and check with a tester that the circuit is dead. The wall switch is not enough. Under a roof, also take care not to tear the membrane that protects the insulation: any opening made to pass the cable must be closed up properly.
A last point concerns the room itself. Panelling is common in bathrooms and conservatories. Our product sheets give no rating for protection against moisture: check that point before any project in a damp room, and keep to dry rooms.
Which model under a panelled ceiling
Under a timber ceiling, a white or metal unit creates a sharp break. You may want that. If you are looking for continuity instead, you need a fan whose material carries on from the ceiling.
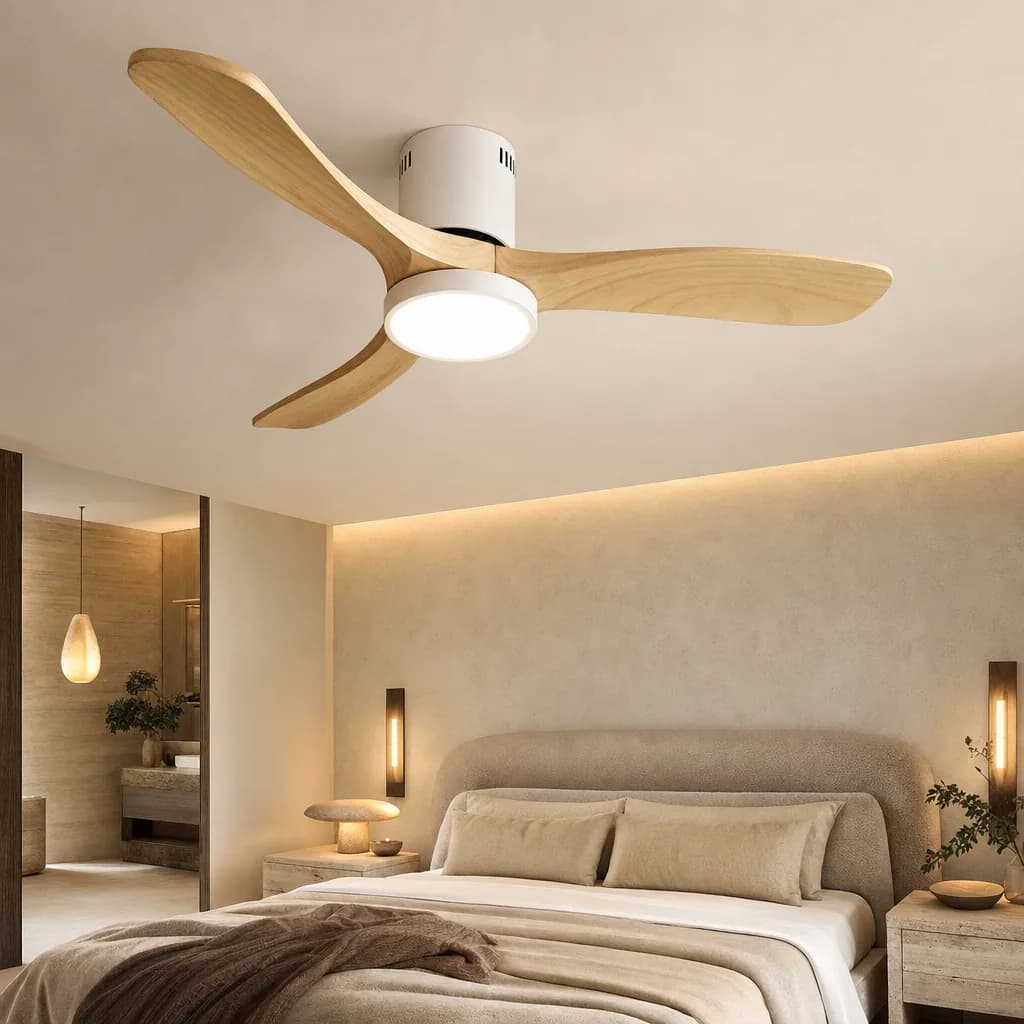
The Épicéa 142 is designed for that: the wood goes all the way to the motor housing, clad in light wood, with matching blades and a round LED in the centre. Under light panelling it blends into the ceiling. Its 142 cm diameter makes it a model for rooms of more than 25 m², living rooms and large bedrooms. Its reversible DC motor is silent, with six speeds controlled by remote.
Its integrated dimmable LED lets it replace the ceiling light on the same point: a single opening through the panelling for both air and light. Its product sheet gives a 30-minute installation; on panelling, allow more, for locating the structure and preparing the spacers. Under panelling fitted on a slope, check before ordering that the mount accepts the pitch of your ceiling.
On a wood-panelled ceiling, you fix neither into the boards nor into the battens: you go through them and anchor into a joist, a rafter or the slab. Read the ceiling before drilling, fit a spacer as thick as the void so the boards are not crushed, pre-drill, and retighten after a week. Switch the power off at the breaker before any work and have old or doubtful wiring checked by an electrician. For a dry room of more than 25 m², the Épicéa 142, with its light-wood body and blades, its integrated dimmable LED, its reversible DC motor and its 2-year warranty, is the model that carries the panelling on instead of contradicting it.
Frequently asked questions
Can you screw a ceiling fan directly into wood panelling?+
No. The boards are thin and held by small fixings: they end up splitting or working loose under a rotating appliance. The screws have to pass through the panelling and anchor into a joist, a rafter or the slab.
How do you find the joists behind panelling?+
Battens generally run at right angles to the boards and show up as lines of pins. For the joists, look through the opening of the existing light with the power off, or use a stud finder. A very fine test hole under the future canopy confirms solid wood.
How do you avoid damaging the boards when tightening the bracket?+
Slip a rigid spacer as thick as the void between the panelling and the structure, where the screws go, and pre-drill the boards. The tightening then bears on the spacer and not on the thin wood.
Can you fit a fan on bathroom panelling?+
Our product sheets give no rating for protection against moisture. Check that point before any project in a damp room. We recommend keeping to dry rooms.
The SEY Maison Circle
Every month, an exceptional piece. Never reissued.
The Drops principle: one high-end furniture piece per month, in a numbered edition. Once it's gone, it never comes back. Circle members are notified 48 h early, access each drop 24 h before everyone else, and receive our guides before publication.
Discover the Drops →